Rocket Water Heater by St. Funogas for Survival Blog
GNN Note – This looks like a pretty ingenious idea and could actually have practical everyday use, not just in case of a serious problem.
******
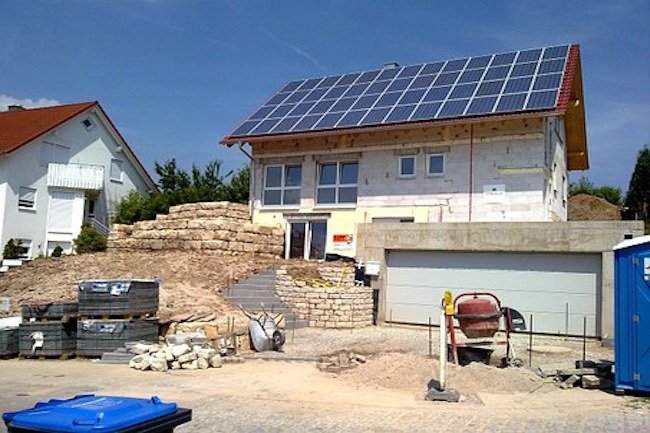
Have you ever considered the things you’d miss most in a TEOTWAWKI situation? I think a nice hot shower has to be pretty high on my list. It is right up there with coffee. So, once I got my nearly-off-grid little cabin built, I set out to build a prototype rocket water heater.
There are a hundred and one different ways to make a rocket water heater (RWH). But as an introduction, I’ll show you how I built mine. I’ll also mention a few things that I wish I had done differently, just to give you some ideas on how you might construct your own. This is one of those projects that gets better the longer you let it ruminate in your mind.
The beauty of a RWH is that not only can you heat a lot of water with just a small amount of firewood, but for many of us, the fuel is free and abundant and will be available long after the grid goes down. When you think of how hot a campfire is, and then think about how much hotter that same fire gets when you blow on it, that same principle is what makes a rocket stove so efficient. By creating its own constant draft, that higher temperature in my RWH will raise the water temperature 25°F in one pass through the heat exchanger. That’s pretty phenomenal.
SYSTEM DESCRIPTION
Here’s a quick description of how my RWH works: A small pump (12-v, 3 GPM) takes water out of my regular water heater tank, circulates it through a coil of copper tubing which is located inside the chimney of a rocket stove, then returns the heated water back to the water heater tank. Inline thermometers allow me to monitor water temps so I know when to stop adding fuel to the rocket stove. A simple set of valves near my water heater tank lets me heat water with electricity, or turn the valves to either heat water using the rocket stove or my solar water heater.
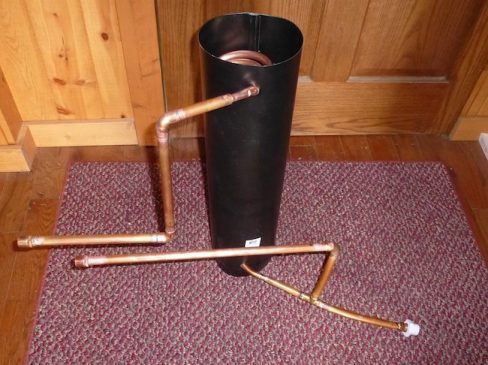
The Heart of the System: The Copper Coil
The main component of a RWH is a coil of copper tubing. You’ll need a 25-foot coil of type L, ⅜” copper tubing. (Type K has slightly thicker walls, 0.049″ vs. 0.035″, but I have no experience coiling it so can’t speak for it one way or the other.) If you use less than 25’ it will not heat the water as efficiently since it will exit the rocket stove sooner. But that may not necessarily be a detractor in your particular system design.
When you buy the copper tubing, it will come in a coil about 16” in diameter and you’ll need to reduce the coil down to about 4-5” in diameter. It’s very important to do this without producing any kinks. I only know of two ways to accomplish that. Option 1 involves filling the tubing with sand, which I have no experience with so I won’t discuss it. Option 2 is much simpler and involves filling the coil with water and then freezing it.
When you get the coil home from the hardware store, stand it on end and make sure the two open ends are slightly higher than the rest of the coil. Next, tie a rope or strap around the coil at the 12 o’clock position so you can hang it up after you get it full of water, keeping the two ends as the high points. Now, submerge the coil into a rain barrel, washtub, or whatever you have handy so that you can fill the entire coil with water. It’s very important that no air bubbles remain trapped inside. So you’ll need to suck on one end, or force water through it with a hose nozzle to be sure there are no air bubbles anywhere inside the coil. Once you are certain it is air-free and completely full of water, replace the slip-fit plastic end caps and carefully lift it up, making sure the open ends are at the highest point so that no water is running out, and hang it somewhere so it can freeze. I hung mine on the outside of my shop one cold night. If you have a chest freezer where you can stand the coil upright, that works too.