Food supply tips: 5 Food preservation methods to learn before SHTF by: Zoey Sky for Natural News
GNN Note – A lot a-ya’ll ’bout to learn why we published Preparedness articles for the last twelve years. I hope you were following along, cause March – August 2020 was just a preview. The show is about to begin. / END
Knowing several food preservation methods ensures that you can prolong the shelf life of fruits and vegetables from your home garden.
These techniques can also add more items to your food stockpile, which is important if you want to prepare for a long-term survival scenario. (h/t to FoodStorageMoms.com)
Before you get started, invest in an informative canning book, such as the “Ball Canning Book” or the U.S. Department of Agriculture‘s (USDA) canning guide. The “USDA Complete Guide to Home Canning” can be downloaded for free on the National Center for Home Food Preservation (NCHFP) website.
If you’re a food preservation beginner, here are some tools worth investing in:
- Apple peeler, corer or slicer
- Canning items
- A detailed canning guidebook
- Dehydrator
- Funnel
- Pressure canner
- Water bath canner
Whole foods are good for you, but without preservation, they don’t have a very long shelf life.
Food preservation refers to the processing of food to stop or slow down spoilage or decaying. Food spoilage is caused by the growth of bacteria, yeasts and molds, all of which can cause illness if ingested.
The five food preservation methods below have their own advantages and disadvantages.
Canning
Canning refers to the process of sealing food in airtight containers such as cans or jars then boiling them to kill any bacteria or other microorganisms that might cause spoilage.
Canning is an effective food preservation method since it prevents oxygen from reaching the food. This is important because bacteria and other organisms need oxygen to grow.
Canning is an effective way to preserve food, but you need specialized equipment and it can be time-consuming.
Canning process
Before you begin canning food, check the “USDA Complete Guide to Home Canning.”
- Choose the right canning method – There are two main methods of canning. Use water bath canning for high-acid foods like fruits and pickles and use pressure canning for low-acid foods like meat and vegetables.
- Choose the right canning equipment – Get basic canning items like a large pot, a canning rack and jars with lids and bands.
- Prepare the food – Canning recipes require you to prep the food in a certain way, like peeling or chopping vegetables. Follow the recipe carefully so the food is properly prepared.
- Process the jars – After the jars are filled with the prepared food, process them. This means placing the jars in the canning pot and boiling them for the required length of time. Check your recipe for specific processing times since each food product is different.
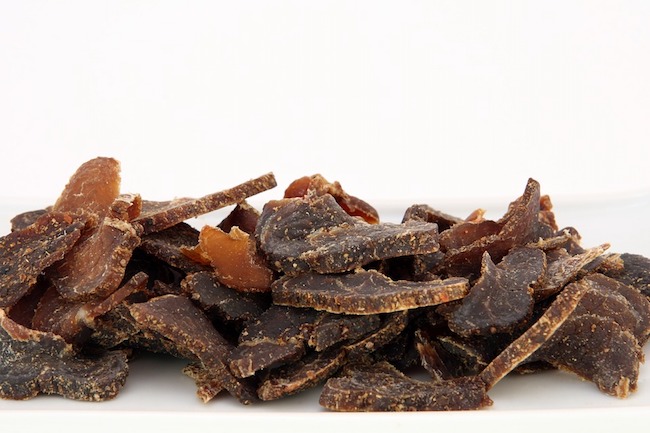
Dehydrating or drying
Drying refers to the process of removing moisture from food. This makes it difficult for bacteria to grow.
Dehydrate food to create shelf-stable foods that can last for months or years. While this method is a simple and effective way to preserve food, it can take a long time depending on the moisture content of the food product and the temperature setting of your food dehydrator.
Dehydrating process
Foods like fruits and vegetables are usually dehydrated. You can dehydrate apples, kale and watermelon.
- Choose fresh, ripe fruit or vegetables – Use produce that is free of blemishes or bruised spots. When using frozen fruits or vegetables, thaw them completely before dehydrating.
- Cut the produce into uniform pieces – Cut the fruits or veggies until they are no more than 1/2-inch thick. If the pieces are too thick, they may take too long to dehydrate. If they’re too thin, they may dehydrate unevenly or burn.
- Put on dehydrator racks – Place the fruit or vegetables on the dehydrator racks, but make sure there is enough space between each piece. You may need to use multiple racks for proper airflow around all the pieces.
- Turn on the dehydrator – Set the dehydrator to the recommended temperature for the fruit or vegetable you’re drying. Most fruits and vegetables can be dehydrated between 135 and 145 F.
- Check the produce – After the recommended drying time has passed, check the fruits or vegetables. Some pieces may need to be flipped over so you can continue dehydrating until they’re completely dry.
- Store properly – Dried fruits or vegetables must be stored in an airtight container. For best results, consume them within six to 12 months.
Fermenting
Fermenting refers to the process of using bacteria to preserve food. The bacteria convert the sugars in food into lactic acid, which then prevents other bacteria from growing.
While fermenting is a great way to preserve food and add flavor, you need to be very careful to prevent contamination.
Fermenting process
You can ferment almost any vegetable, but you need to check reliable guides before you proceed.
- Choose the fermenting container – Use a Mason jar or crock container.
- Choose what to ferment – You can ferment cabbage to make sauerkraut. Beets and carrots can also be fermented.
- Shred and chop the food – The food needs to be shredded and chopped before you place it in the container.
- Add salt – Salt will help preserve the fermenting food. Don’t skip this step.
- Add water – Fill the container with water but leave at least one inch of headspace at the top.
- Cover the container – Cover the fermenting food with a cloth and secure it to the jar with a rubber band.
- Let the food ferment – Let the food ferment for at least two weeks in your chosen container. Check it occasionally to make sure you followed the steps correctly.
- Store properly – After two weeks, transfer the fermented food to a new container and refrigerate it. Fermented foods should last for several months in the fridge.
Freezing
Freezing refers to the process of chilling food to very low temperatures, at least -18 C or 0 F, to keep bacteria from growing.
While freezing is easy and convenient, it can cause freezer burn if not done correctly.
Freezing process
Freezing is best for preserving leftovers or pre-made meals. You can also use this method to preserve fresh veggies from your garden.
- Choose the right container – When freezing foods, use freezer-safe containers that won’t crack or shatter when exposed to extreme cold. Alternatively, you can use freezer bags and plastic wrap.
- Label and date containers – Labeling the containers makes it easier to keep track of what you have in your freezer. Check the labels so you use up all items before it goes bad.
- Fill the containers properly – Leave some space at the top of the container so that the food has room to expand as it freezes.
- Don’t overfill your freezer – Freezing food can take up a lot of space, but it’s best not to overcrowd your freezer. This ensures that your food stays frozen and doesn’t spoil.
Pickling
Pickling refers to the process of preserving food in an acidic solution like vinegar or brine (saltwater).
Pickling food in acid prevents bacteria from growing. It’s also a great way to give food a flavor boost, but pickling isn’t a great choice for people who don’t like salty food or are watching their salt intake.
Pickling process
Try pickling to extend the shelf life of various fruits and vegetables like blueberries, carrots, cherries, ginger, onions, peaches or turnips.
- Prepare the solution – The pickling solution usually consists of vinegar, water, salt and spices. The basic ratio for pickles is 1:1 vinegar to water and some combination of salt or sugar. Another common ratio is 3:2:1, which means three parts vinegar, two parts water and one part sugar.
- Sterilize the jars – Sterilize the jars and lids by boiling them in water for 10 minutes.
- Fill the jars – Place the fruit or vegetable in the jars. Pack them tightly.
- Cover with the solution – Pour the pickling solution over the fruits or vegetables until it is completely covered. Seal the jar with a lid. Always refrigerate pickled food. If you want to process these jars, follow the proper canning guidelines.